Your Cart is Empty

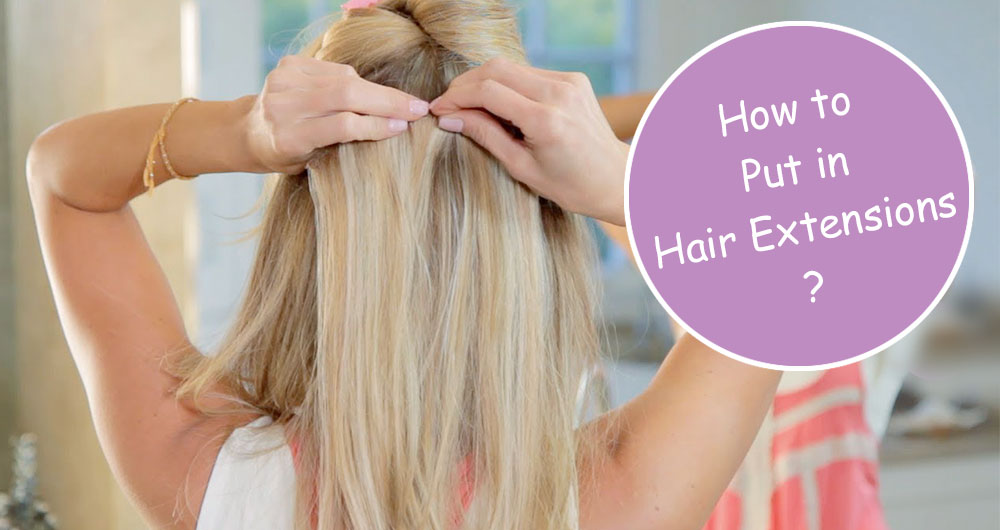
Hair extensions can add length and volume instantly to your hair and are one of the best, easiest and most effective ways to update and improve your hair’s appearance. However, if you’ve been looking into hair extensions, you need to know how to put in hair extensions, in a way that is correct and comfortable.
There are different types of hair extensions that are applied to the hair using different methods. We discuss the different types and how to apply them in this article.
Halo hair extensions use a clear nylon wire that rests on top of the hair and uses the weight of a top section of hair and the curvature of the scalp to secure itself. There are no clips, tape, glue, heat, or beads involved with putting in halo hair extensions. They are very easy to install by yourself and are temporary.

There are two main ways to put in halo hair extensions: Using a rattail comb to pull out the top section of hair after putting on the halo hair extension, or first sectioning and clipping up the top section of hair and then putting on the halo hair extension.
The video on this page provides a visual instruction on how to install halo hair extensions using the rattail comb method.
SHOP THIS HALO HAIR EXTENSIONS
Clip in hair extensions uses clips to attach to the hair and are easy to install on your own. You’ll need clips and a rattail comb to put in clip in hair extensions.
To install your clip in hair extensions, begin by sectioning and clipping away the hair in front, from your ears, forward. Next, create a horizontal part at the bottom to the middle of the ears, and clip the top section of hair away. Start with the smallest weft and work your way up the head, using the next weft size each time. You can also add a couple of wefts to the front sides if you feel you need added length and volume there
This video provides a visual tutorial and guide to help you with putting in your clip in hair extensions.
SHOP FULL HEAD CLIP IN EXTENSIONS
To begin putting in your tape in hair extensions, you will need hair clips and a rattail comb for sectioning. You will be parting your hair, clipping away the excess hair, removing the cover on the sticky tape, and pressing it onto the hair near the roots.
We recommend this video for a full step-by-step tutorial for putting in tape in hair extensions yourself.
SHOP REMY TAPE IN HAIR EXTENSIONS
I tip hair extensions use beads that clamp down onto the hair with a single hair extension piece. I tip hair extensions are semi-permanent and should be put in by a professional hairstylist. I tip hair extensions are put in section-by-section and piece-by-piece, working up from just above the nape area. They do not use any heat.

Micro ring hair extensions are very similar to I tip hair extensions and use similar tools, including beads, a hook tool to pull the hair through the bed, clamping pliers, a rattail comb, and clips. Micro ring hair extensions can add both length and volume, just volume, or a highlighted look.
Hand tied hair extensions are an art form and must be put in by a trained professional hairstylist. They require only 2-3 sections in which layers of wefts are sewn into the hair via a track of beads that are first sewn in. Hand tied hair extensions do not use any glue, tape, heat, or a large amount of beads to secure to the hair. They require the least amount of contact with the hair than the other types of hair extensions, making them one of the least damaging types of semi-permanent hair extensions.
SHOP HAND TIED HAIR WEFT EXTENSIONS
Here’s a fun video that shows what it’s like to have hand tied hair extensions put in.
Are you excited to try any of these hair extension applications? Which type of hair extension is right for you? Let us know in the comments or reach out to our team directly to ask any questions. Be sure to check out our Shop By Look page to learn which hair extensions go with certain popular looks!